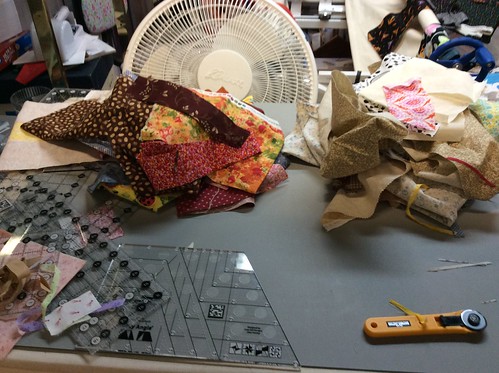
DK Quilt Guild: A place for quilters to gather, share ideas, projects, and to make the world a better place, one quilt at a time. Join us and share your thoughts, projects, questions, and tips. Quilters here are at many different levels of skill. Beginners and non-quilters are welcome, too.
In a recent diary art ah zen mentioned wanting to use her scraps, but needing some block ideas. The split 9 patch lends itself very nicely to scraps. Here’s how to make it.
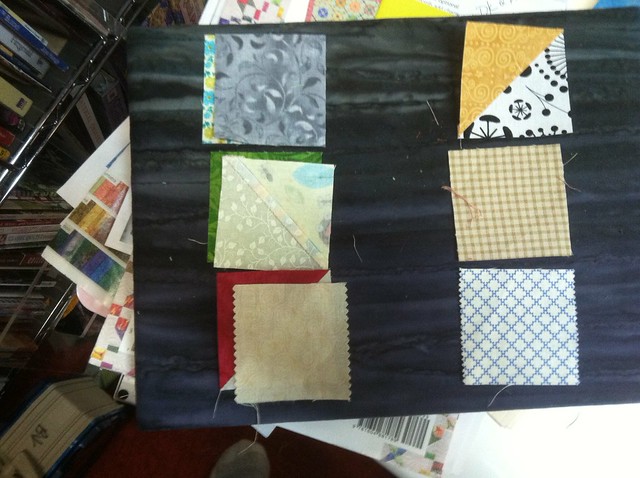
We are going to be using the “paper bag” technique (i.e. put all the darks in one bag, all the lights in another, and just reach in and pull out whatever your hand lands on). Divide all your fabrics into lights or darks. Lights should be lighter than a paper bag. Pattern, color, genre don't matter. Value is doing all the work.
From them we need 3 dark squares, 3 light squares, and 3 half dark/half light half square triangles.
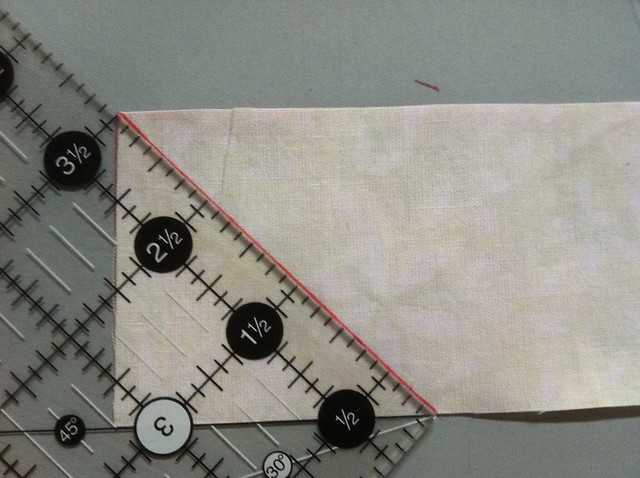
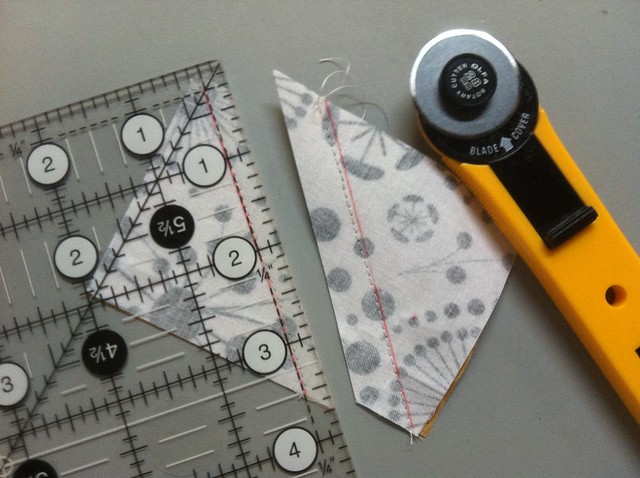
First, the half square triangles (HSTs). I don’t like raw bias edges and I don’t like 7/8ths measurements. So we are going to make our HSTs 2 at a time using a technique I learned from Sally Schneider. For this technique we need pairs of light and dark rectangles. The rectangles need to be n inches by (n inches + 1 inch). I want to work with 2.5 inch squares (giving me 2 inch finished HSTs, and a 6 inch finished patch) , so my rectangles need to be 2.5 inches by (2.5 inches + 1 inch), or 2.5 inches by 3.5 inches. Put a light and dark rectangle right sides together. Using the 45 degree line on a ruler, draw the hypotenuse of each HST.
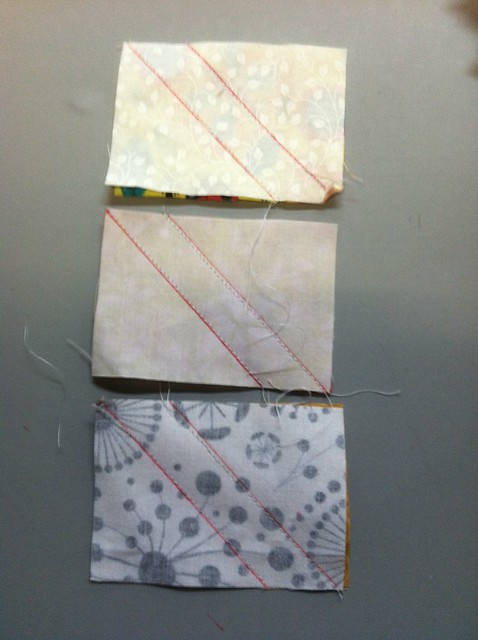
Sew just to the outside of the lines you drew.
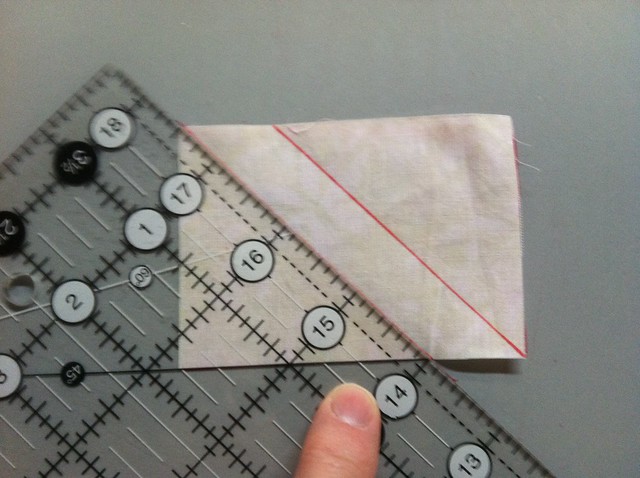
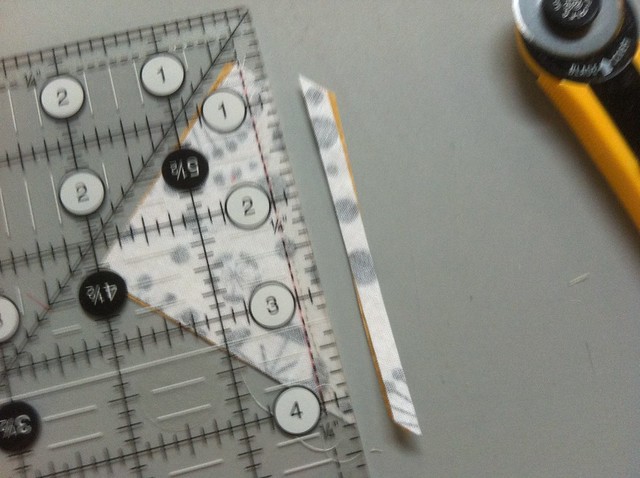
Using your ruler, cut the rectangle into 2, leaving a 1/4 inch seam allowance.
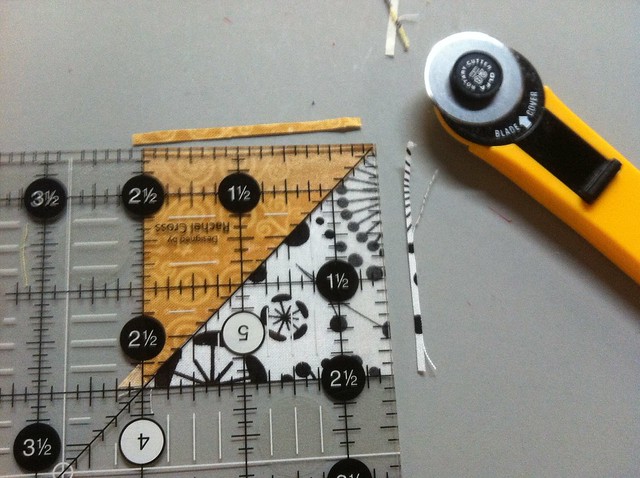
Press to the dark. Then, if you sew like me, you’ll want to square up to 2.5 inches. Luckily, all of my mine were just a bit too big.
Cut 3 2.5 inch light squares and 3 2.5 inch dark squares. Lay the pieces out by your machine.
Flip the squares in the 2nd column over the square to their right (column 2 on top of column 1); chain piece.
Do NOT snip your threads! Lay the pieces in the 3rd column over the pieces in the 2nd column; chain piece.

Do NOT snip threads. You now have the 3 rows of your 9 patch sewn, and the rows for one block are “webbed” together. This keeps the pieces in the right orientation and the block all together. With your block still webbed, press the seams in the even row to the left and in the odd rows to the right (as seen from the wrong side).
Sew the rows together.
DON’T press your seams; you’ll need to layout your blocks before you know how to press your seams.
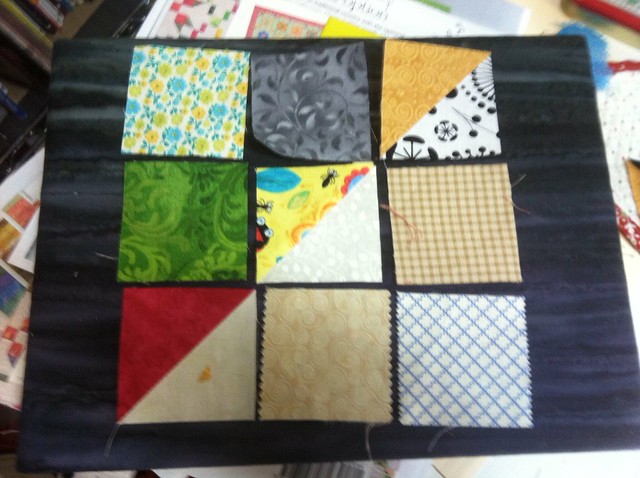
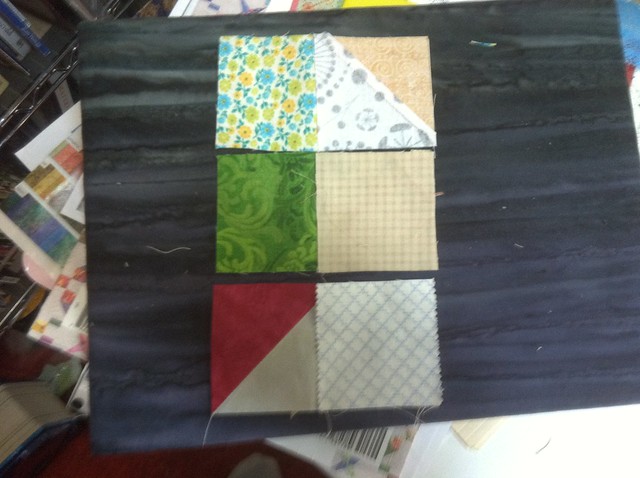
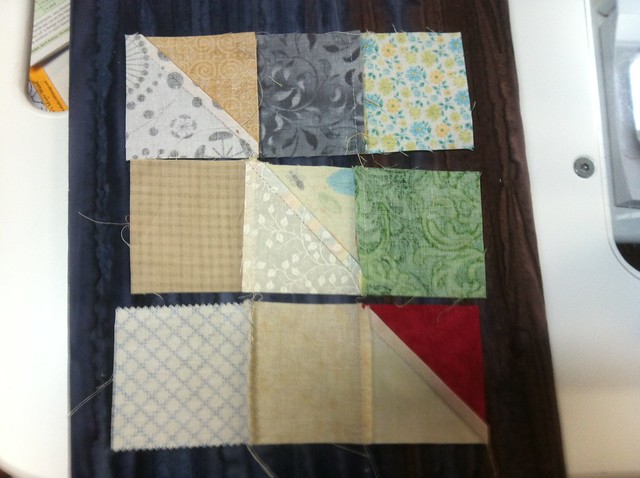
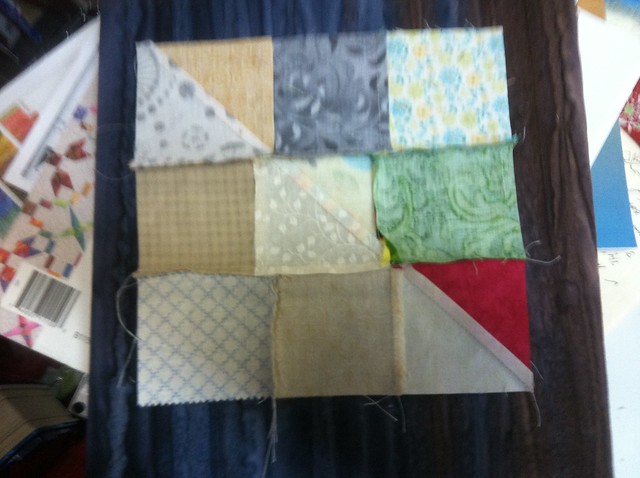
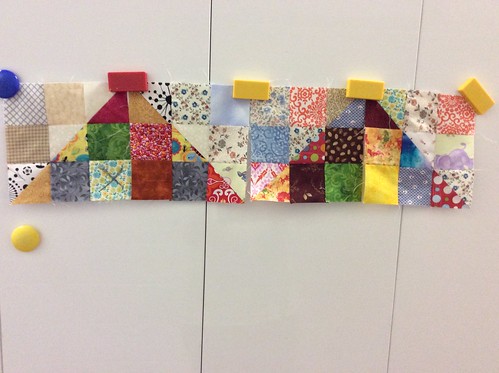
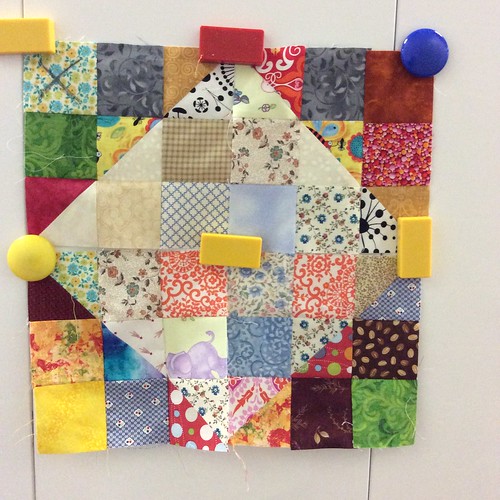
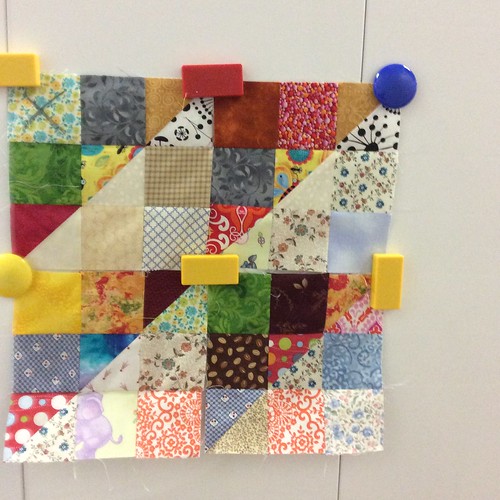
After you’ve sewn a bunch of these together comes the fun. This is a great pattern to play with on the design board. Here are a few setting ideas:
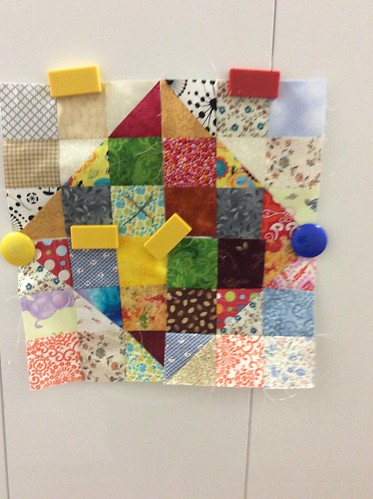
(Note the mistake in this last picture. See that blue & green print near the center with an X through it. It's supposed to be a dark. And even though it has a lot of blue and green with all that light bckground it reads light. So I should have put it in my light pile, which I did do later.)
Thanks for reading, and what have you been working on?
~~~~~~~~~~~~~~~~~~~~~~~~~~~~~~~~~~~~~~~~~~~~~~~~~~~~~~~~
We Need Writers for the DK Quilt Guild Diaries.
After doing quite well with scheduling, there are now lots of open dates. Would you like to write a future DK Quilt Guild diary? Please join in! Please volunteer within the comments or you can send Pam from Calif a kosmail. Thanks
Diary Schedule
04/12 -- Elizaveta
04/19 -- OPEN
04/26 -- OPEN
05/03 -- winifred3
05/10 -- OPEN

